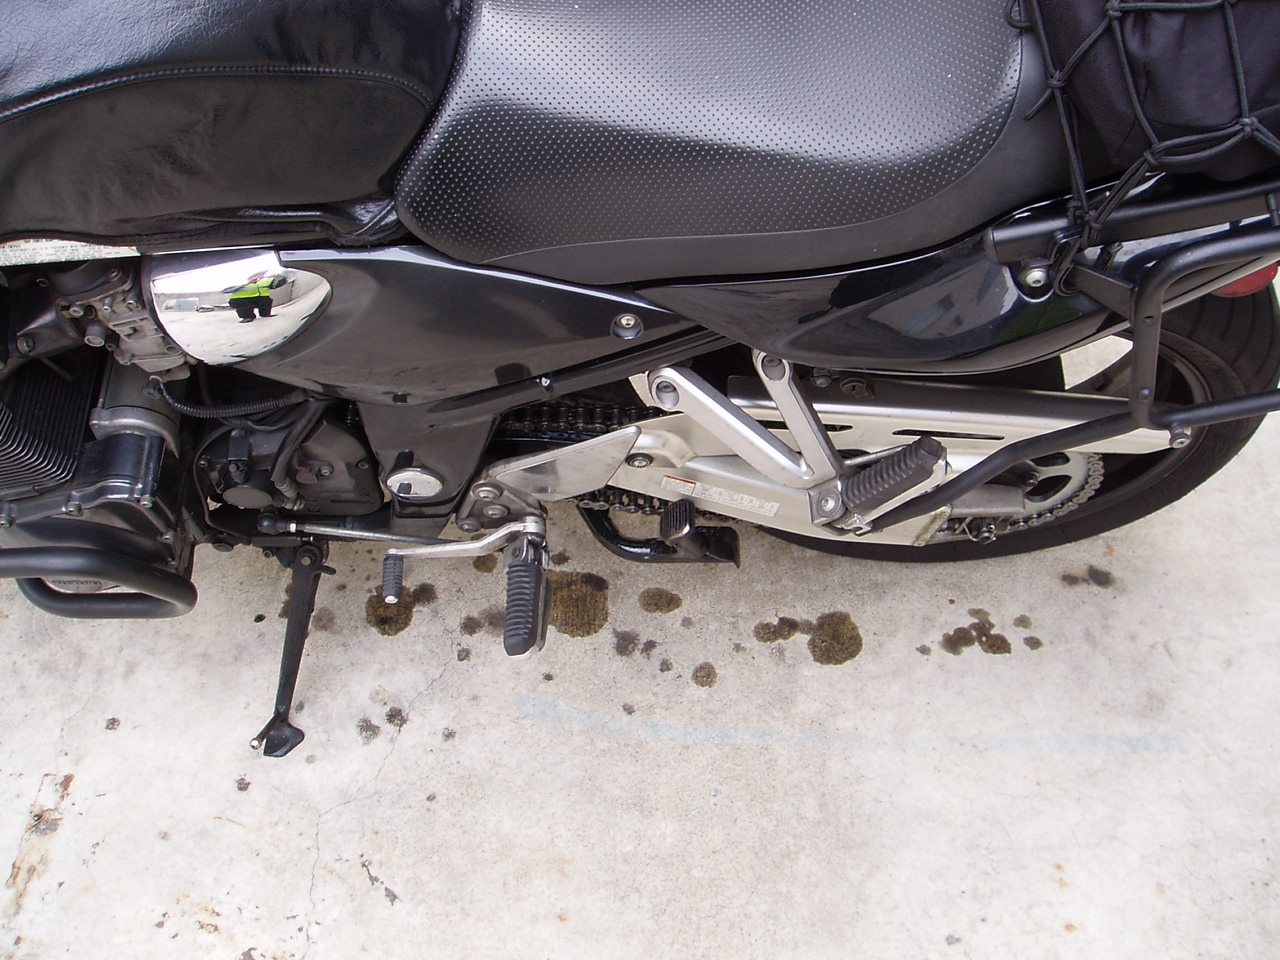
I hadn't changed the chain & sprocket set on the Bandit since before the Alaska trip 33,000 miles ago so it was overdue.
It is not difficult but there are a lot of steps to follow.
Supplies
- Sprockets: 15T front/45T rear for stock gearing. I usually use SunStar steel sprockets but I cheaped out and bought a pair of JT sprockets this time. SunStar seems to provide a bit better fit and I'll probably switch back.
- Chain: 110 link 530 chain. I'm using a D.I.D 530VX as the D.I.D O Ring Professional chains I've always used seem to be discontinued.
- Front sprocket lock ring, Suzuki part # 09167-25019
- Axle grease
- Contact cleaner
- WD-40
- Kerosene and cleaning brushes
- Medium (blue) thread lock
- length of twine or cable tie
- wood block or other rear wheel support
- Chain breaker: I use a Motion-Pro Jumbo Chain tool
- 9/16" and 13/16" wrenches for chain tool
- Angle grinder for grinding off chain pin
- Safety glasses
- 32mm socket for front sprocket nut
- 24mm socket for rear axle nut
- 1/2" and 3/8" drive torque wrenches
- 12mm and 10mm wrenches for chain adjustment
- 12mm and 14mm sockets and wrenches for rear brake, torque arm, sprocket nuts, etc.
- large flat screwdriver or chisel
- large philips screwdriver
- small hammer
- needle nose pliars
- 5mm and 6mm hex sockets
 |
| JT sprocket set and lock ring |
 |
| D.I.D 530VX chain |
Put the bike in 1st gear while still on its side stand. Note the placement of the clamp that attaches the shift rod to the shift shaft. Use a permanent marker or white-out if needed. Then remove the clamp bolt and pull the clamp off of the shift shaft.
Remove the front sprocket cover hex bolts making note of the position of each bolt. They are all different lengths. My suggestion is to measure each and draw a diagram. The Bandit has a hydraulic clutch and it is not necessary to detach the clutch line and drain the fluid. Just tie the sprocket cover to the frame or passenger peg with string or a cable tie leaving the cable attached.
Apply WD-40 to the sprocket counter shaft to loosen any thread lock.

Remove the speedometer sensor bolt and remove the sensor.

With a small hammer and chisel, bend back the front sprocket nut lock washer. Then remove the sprocket nut with the 32mm socket. May be necessary to apply rear brake.

Remove the rear axle cotter pin, then remove the rear axle nut with the 24mm socket. At this point the bike can be put on the center stand. Remove the chain guard.

Put on safety glasses. Grind off one chain pin, not a master link pin, with the angle grinder. Keep flammable materials away as there can be a lot of sparks.


Use the chain tool to push the ground pin through the chain and break it. Use the press pin and no base plate.


Loosen the chain adjustment lock nuts on each side, then screw the chain adjusters all the way into the swingarm. On the right side of the bike remove the bolts that attach the rear brake to the right side wheel spacer, and loosen the nut and bolt that attach the rear brake torque arm to the caliper. Move the rear caliper out of the way. Support the rear wheel with wood blocks and carefully pull the rear axle from the right side, noting the positions of all the spacers and chain adjustment blocks. Pull the rear wheel out from the left side of the bike.


At this point the front sprocket area can be cleaned. I used kerosene and a tooth brush to loosen up all the tar and old chain lube, then sprayed with contact cleaner to wash it off. It was a real mess in there.


Next, remove the rear sprocket from the rear wheel and clean the wheel up. It was also quite a mess.


While the rear brake caliper is free it is a good idea to check the wear on the rear brake pads.

Reassembly
Note: It is highly recommended to clean all nuts, bolts, threads, assorted spacers and other fasteners with kerosene, and dry them, before reassembly.
Push the new front sprocket onto the counter shaft with the markings facing outward.

I had a lot of trouble with the JT 513 this time. I've run this sprocket before and never had a problem so I don't know what the issue was. I ended up going to the Suzuki shop to try and get a SunStar or Afam. They didn't have one so I had to make due. I put axle grease all over the counter shaft and the inner sprocket gears and eventually it went on, but not without more force than what I thought should be necessary. Hopefully it won't be a nightmare to remove it next time.
Put the lock washer onto the counter shaft with the flange facing outward. Then tighten the sprocket nut as much as possible. It will not be possible to fully torque it down without the new chain. Note that the manual calls for thread lock on the counter shaft threads.

Next, bolt the rear sprocket onto the rear wheel using a star pattern to tighten the bolts in stages, sprocket markings facing outward. This is kind of tricky because the bolts are loose and will want to fall down into the wheel. The wheel mount can be separated from the rear wheel by pulling on it, which will make this easier although I didn't have to. Torque the sprocket nuts to 37 ft/lbs, or 44 ft/lbs depending on which year the bike is. When in doubt do not over tighten. Note that the manual calls for thread lock on the sprocket bolts.
Clean and re-grease the rear axle, then mount the rear wheel by setting it on wood blocks and carefully threading the axle through with all the spacers. It should not be necessary to force the axle. Thread the new chain through its path.

Grease the master link and 4 o-rings using the white grease supplied with the new chain. Then put two of the o-rings onto the master link pins and thread the master link through the two pin holes from the back. Apply the remaining 2 o-rings to the pins sticking through the outer side of the chain, then manually press the master link plate onto the pins.
Remove the press pin from the chain tool, then insert the press plate and no base plate at the bottom.

Clamp down on the master link with the chain tool, just enough so there is enough master link pin showing to rivet. It is important not to over tighten the master link.
Next, remove the press plate from the chain tool and put the rivet attachment at the top and the rivet anvil at the bottom.

Clamp down on each master link pin with the chain tool until each pin has a nice flanged appearance. Do not clamp down too hard or the pin may be damaged.

Initial Chain Adjustment
Making sure the rear axle and axle nut threads are clean, attach the adjustment block and axle washer, then spin on the rear axle nut finger tight. Using the chain adjustment nuts do an initial coarse adjustment. Apply a little tension to the chain adjusters on each side, just enough so the chain is not loose and floppy. The rear caliper can be reattached at this time. Torque the caliper bolts to 18 ft/lbs and the torque arm bold to 26 ft/lbs.
Using the marks on each side of the swingarm as a rough guide, tighten each side evenly until there is about 1" freeplay at the loosest part of the chain under the swingarm. Tighten down the axle nut a turn and make sure there is still an inch of free play at the lowest point of the chain.
The bike can be lowered onto the side stand at this time. Torque the front sprocket nut to 85 ft/lbs. It may be necessary to apply the rear brake. Bend the lock washer with a small hammer and chisel to keep the sprocket nut in place.

Replace the speedometer sensor nut and torque to 9 ft/lbs (115 in/lbs). Note that thread lock is called for by the manual. Also note that Clymer has two different torque specs for this bolt, one in Ch 7 (15 ft/lbs) and the other in Ch 10 (115 in/lbs). Best not to over torque.

Replace the sprocket cover and tighten the bolts finger-tight + 1/4 turn. Reattach the clamp onto the shift shaft at its original position and tighten the bolt finger tight + 1/4 turn.

Final Chain Adjustment
Shift the bike into neutral. Loosen the rear axle nut, then lift the bike back onto the center stand. Ensure all the following conditions are met:
- Ensure the chain slack is approximately 1" at the loosest point under the swingarm.
- The adjustment blocks should be equal distance from the end of the swingarm on each side.
- Sight down the chain's upper travel path while slowly rotating the wheel counter-clockwise (normal forward direction), and be sure it appears to be even and straight throughout the entire length of the chain.

- The chain should travel without resistance in any part of the travel path. Make sure the chain does not touch the rear tire at any point.
- The chain slack should be an even 1" at the measurement point at all points on the chain as it rotates.
Tighten the chain adjustment lock nuts, then torque the rear axle to 74 ft/lbs. Use a new cotter pin and bend it so it doesn't move. Re-check the chain slack one last time.

Reattach the chain guard, then go for a short test ride. Check sprocket nuts for tightness.
All done!